
Transfer Your Website Without Downtime A Complete Guide
How to Transfer Your Website to a New Host Without Downtime: A Step-by-Step Guide
In this fast-evolving world of technology, the performance and uptime of your website are key to your success. Moving your website to a new host is always a big decision – Whether you are upgrading to a better hosting provider, shifting your website due to performance reasons, or looking to optimize costs.
The MOVE can be overwhelming if you are anxious about downtime, data loss, or even damage to your SEO ranking. Worry, however, comes with quite a bit of good news – With the right direction, you can seamlessly move your website without a single minute of downtime.
In this guide, we’ll share everything you need to know for transferring your website to a new host and ensuring no downtime. We will help you check all the boxes from preparation and execution to completing post-migration checks.
Why Migrate Your Website to a New Host?
Before tackling the how-to, let’s clear up the why first. There are multiple reasons why both customers and companies opt to move their websites to a new host
1. Better Performance
In case your current host is slow and untrustworthy, switching to a provider with good reliability and speed comes with a boost in your website’s speed and user experience.
2. Cost savings
A lot of providers have aggressive pricing and offer better value for money.
3. Improved Support
Lackluster customer service or support is no longer a problem as there are providers with 24/7 assistance.
4. Scalability
Expansion of a website may come with increased traffic and resource needs requiring specific hosting.
As stated, some risks come with migration, the largest being the dormant period. A few minutes of dormancy may lead to a loss of revenue, a dip in user trust, and penalties from search engines. This is why planning and executing the migration is key.
Preparing for the Migration
A successful website migration starts with thorough preparation. Here’s what you need to do before making the move.
1. Backup Your Website
Always make a complete backup of your entire website right before you do anything. Backing up your website means that you have all the files, databases, and configuration settings stored safely. Check with your hosting provider, as many offer backup services. You can also use WordPress plugins such as Updraft Plus or export the database manually.
2. Audit Your Website
Take the time to review your website for broken links, outdated plugins, and unnecessary files. This is also a good opportunity to clean up your database and optimize your site for better performance.
3. Choose the Right New Host
Not all hosting providers are created equal. Look for a host that offers:
- Reliable uptime guarantees
- Scalable resources
- Excellent customer support
- Free migration services (many hosts provide this)
4. Notify Your Users
If your website serves a large audience, consider notifying them about the upcoming migration. While the goal is zero downtime, it’s always good to keep users informed.
Step-by-Step Guide to Migrate Your Website Without Downtime
Since you are ready, let us go through the systematic approach of moving your website to a new host, ensuring that there is no downtime.
Step 1: Set Up the New Hosting Account
- Sign up for a hosting plan with your new provider.
- Configure the new server to match your current setup (e.g., PHP version, server settings).
Step 2: Migrate Website Files and Databases
Option 1: Use cPanel or FTP
If both your old and new hosts use cPanel, you can use the built-in migration tools. Alternatively, use FTP to transfer files manually.
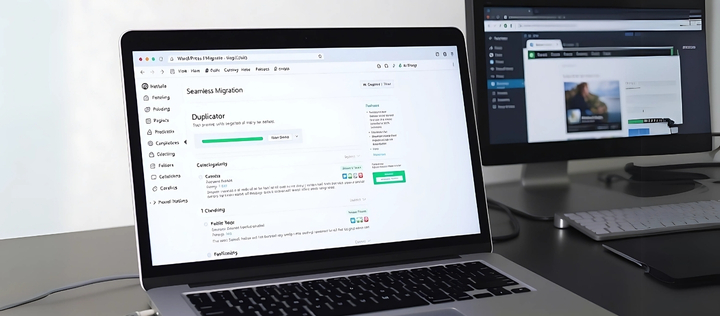
Option 2: Use Migration Plugins
Plugins such as Duplicator or All-in-One WP Migration Simplify WordPress Sites.
Option 3: Use Hosting Provider Tools
Many hosts offer free migration services. Provide your old hosting credentials, and they’ll handle the rest.
Step 3: Test the Website on the New Host
Before going live, test your website on the new host using a temporary URL. Check for:
- Broken links or missing files
- Functionality issues (e.g., forms, plugins)
- Design inconsistencies
Step 4: Update DNS Settings
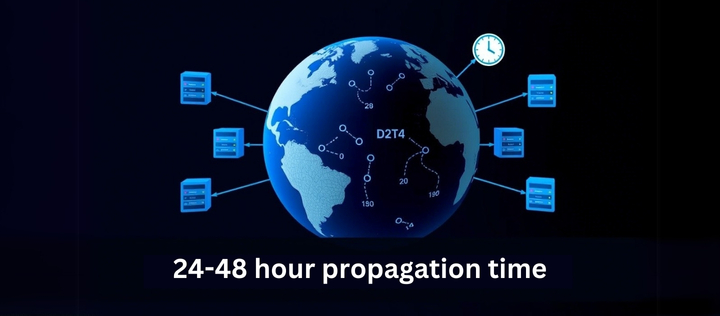
When you’re sure all systems are operational, change the DNS configuration for your domain to direct it to the new host. The change may take 48 hours to propagate; however, if you lower the TTL (Time to Live) value before making your updates, you reduce downtime.
Step 5: Monitor for Issues
After the migration, keep a close eye on your website for any issues. Use tools like Google Analytics and Search Console to monitor traffic and performance.
Tools and Plugins for Seamless Migration
The proper equipment can change everything. Here are some popular options
1. cPanel
Best of all for manual migrations, particularly if both hosts use cPanel.
2. FTP Clients
Use FileZilla or Cyberduck to move files.
3. Migration Plugins
For WordPress sites, Duplicator and All-In-One WP Migration are superb options.
4. Tools by the Hosting Provider
A lot of hosts give free migration services like Bluehost and SiteGround.
Common Migration Issues and How to Fix Them
Even with careful planning, issues can arise. Here’s how to tackle the most common problems.
1. DNS Propagation Delays
- Reduce the TTL value before updating DNS settings.
- Use a DNS propagation checker to monitor progress.
2. Broken Links or Missing Files
- Double-check file paths and permissions.
- Use tools like Broken Link Checker to identify and fix issues.
3. Email Downtime
- Ensure email services are migrated correctly.
- Update MX records if necessary.
Post-Migration Checklist
Once the migration is complete, don’t forget these critical tasks
1. Test Website Functionality
Ensure all pages, forms, and features work as expected.
2. Check Website Speed
Leverage GTmetrix or Google PageSpeed Insights to enhance your performance metrics.
3. Update SEO Settings
- Reconfigure redirects, meta tags, and sitemaps.
- Submit a new sitemap to Google Search Console. Monitor Traffic and Rankings
Monitor your website’s performance and resolve any issues with a dip in traffic or ranking.
SEO and Website Migration
Shifting your website to a different server may change your SEO rankings, but if done correctly, it can be mitigated.
1. Use 301 Redirects
If any URLs change during the migration, set up 301 redirects to preserve link equity.
2. Update Internal Links
Ensure all internal links point to the correct URLs.
3. Submit a New Sitemap
Let search engines know about your updated site structure by submitting a new sitemap.
4. Monitor for Crawl Errors
Use Google Search Console to identify and fix any crawl errors.
Special Considerations for E-commerce and WordPress Websites
![]()
E-commerce Migration
For online stores, downtime can mean lost sales. Follow these tips
- Schedule the migration during off-peak hours.
- Test all payment gateways and shopping cart functionality.
WordPress Migration
WordPress sites require extra care
- Use migration plugins like Duplicator.
- Update permalinks and check for plugin compatibility issues.
Conclusion
Changing the host of your website doesn’t have to be a challenge. If you have the right equipment and take it step by step, you can complete the migration without any interruptions. Don’t forget to back up your site, test it, and look for any issues after relocating.
In this guide, we will explain how to prevent your website from going offline, while also protecting your SEO rankings along with user trust. So, if you’re ready to make the shift, then start planning your migration now!
Q&A Section
Q1: How long does it take to transfer a website to a new host?
The period needed is reliant on the size of the website and the method of migration. Small websites can be migrated in under an hour, while larger sites may take several hours. Although correctly managing DNS propagation will not usually increase downtime during the migration, it can add 24-48 hours.
Q2: Can I migrate my website without technical knowledge?
Correct! Most hosting companies have free migration services, and WordPress plugins like Duplicator make the process easy for novices. But if you’re not confident, seeking professional help is always wise.
Q3: Will my website experience downtime during the migration?
Not if you follow the steps outlined in this guide. By testing your site on the new host before updating DNS settings, you can ensure a seamless transition with zero downtime.
Q4: What happens to my email accounts during the migration?
If your email is hosted with your current provider, you’ll need to migrate it separately. Update MX records and ensure email services are configured correctly on the new host to avoid downtime.
Q5: How does website migration affect SEO?
If done correctly, migration should have minimal impact on SEO. Use 301 redirects for any URL changes, update internal links, and submit a new sitemap to Google Search Console.
Q6: Can I migrate my website myself, or should I hire a professional?
If you’re comfortable with technical tasks, you can migrate your website yourself using tools and plugins. However, for complex sites or if you’re unsure, hiring a professional is recommended.
Q7: What should I do if something goes wrong during the migration?
If you encounter issues, refer to your backups to restore your site. Most hosting providers offer support to help resolve migration problems. Testing your site on the new host before going live can prevent major issues.